Adding additional locations and/or organizations
In eformity, you can add extra locations and/or organizations. This is useful for organizations with multiple locations or different brands under a main organization. This article explains how to do this.
Step 1: Log In to the eformity Web Environment
To modify your organization's data, first access the eformity web environment at yourcompanyname.eformity.net. Once the page is loaded, log in if necessary.
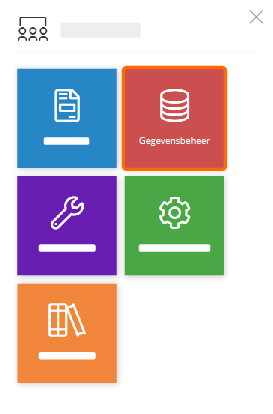
Step 2: Navigate to 'Datasource Management' in the Menu
After logging in, open 'Datasource Management' by clicking the menu button located at the top left of the page. This is shown in the image below.

Once you click the menu button, a sidebar will open on the left side of the page. This menu has several sections. Click on 'Datasource Management,' which is circled in the image below.
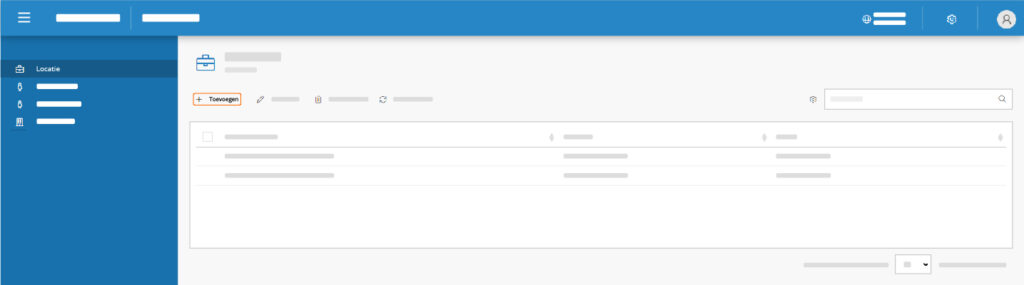
Step 3: Edit/Add a location or an organization
A new page will open where you can manage locations, employees, and organizations. Choose between 'Location' or 'Organization' to add or modify. These options are circled in the image below.

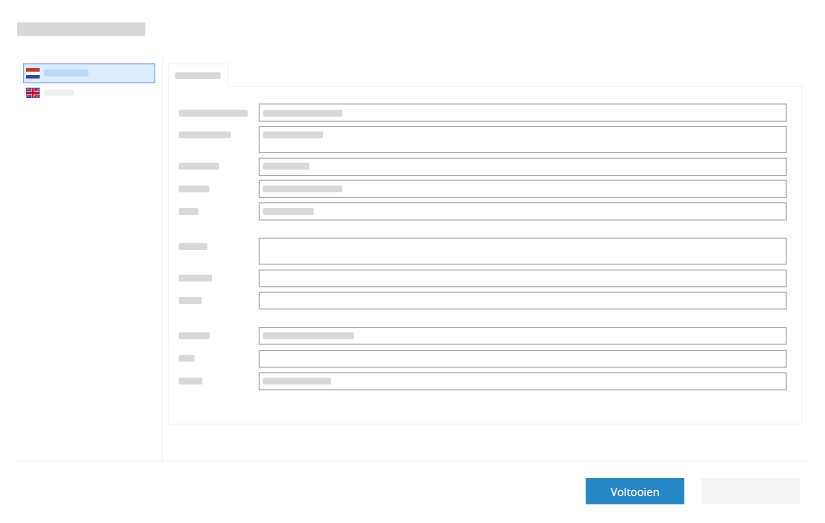
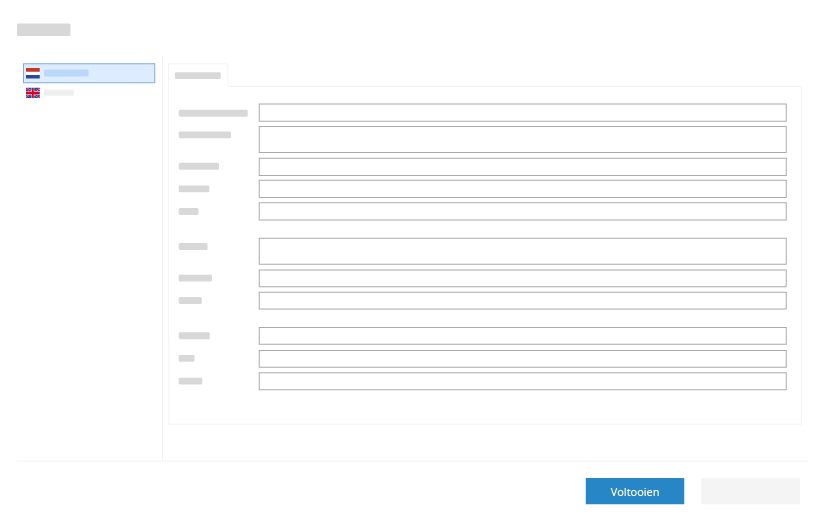
Adding a location or organization
After selecting 'Location' or 'Organization,' you will see an overview of existing locations or organizations. Click the 'Add' button to create a new one. This is shown in the images below.

A sidebar will appear on the right side of the page where you can enter the details for the new organization or location. Once all required fields are filled out, click the blue 'Finish' button.
Editing a location or organization
On the 'Datasources' page, select 'Location' or 'Organization'. An overview of existing entries will appear. To edit an entry, first select a row by clicking on it, then click 'Edit.'
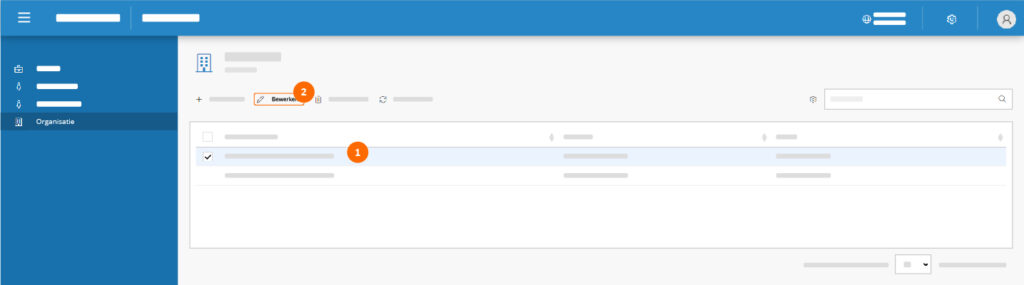

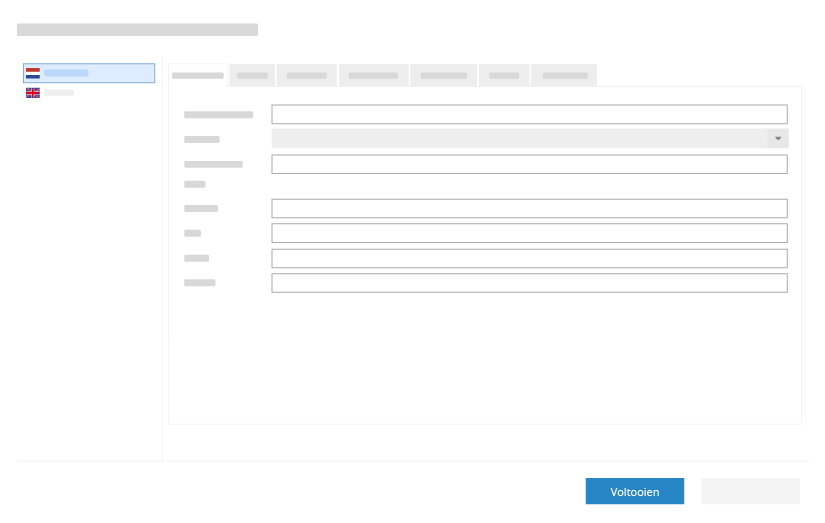
After clicking 'Edit,' a new element will appear on the right side of the page where you can modify the details of the selected organization or location. Once you have made the changes, click the blue 'Finish' button.