
How to add a (temporary) banner to the Outlook signature?
For holidays or events, you might want to add a temporary banner to the email signature. This can be done within eformity. This article explains how to add a temporary banner to your email signature in a few simple steps:
- Open the web environment of eformity
- Go to 'Datasource Management'
- Select and edit the organization
- Add a new 'Campaign'
Step 1: Open the web environment of eformity
Changing the email signature must be done through the eformity web environment. Therefore, the first step is to open the web environment. You can do this by going to yourcompanyname.eformity.net. Then, log in if necessary.
Step 2: Go to 'Datasource Management'
Once logged into the web environment, navigate to 'Data Management'. To do this, first click on the menu icon. This icon is located at the top left of the page.

After clicking on this icon, a menu will open on the left side of the page. In this menu, click on the tile labeled 'Datasource Management'.
Step 3: Select and edit the organization
After clicking on 'Datasource Management', a new page named 'Datasources' will open. On this page, click on 'Organization'.
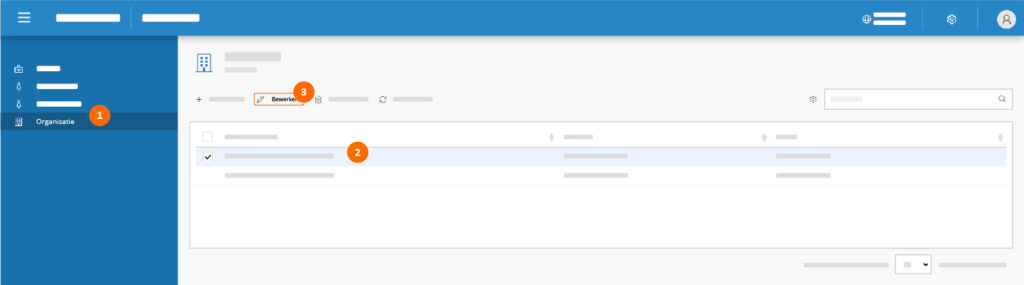
You will now see an overview of all the created organizations (usually just one or two). Select an organization by clicking on its row (the selected row will have a blue background). Then click on 'Edit'.
Step 4: Add a new 'Campaign'
The final step is to add the campaign. To do this, click on the 'Campaigns' tab in the new panel. In the 'Campaigns' tab, add a new campaign by clicking the 'Add' button.

After clicking the 'Add' button, a new panel will open on the right side of the page. In this panel, you will enter the details for the campaign.
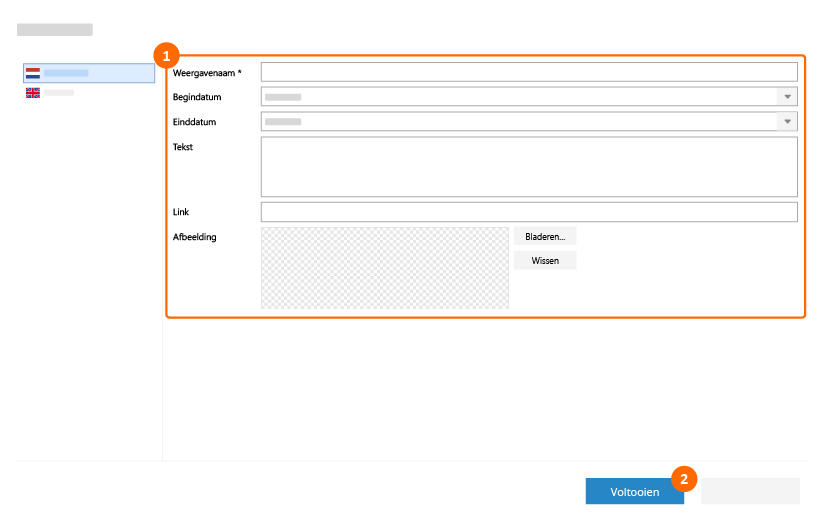
You will give the campaign a display name (required), start and end dates, text, url, and image (banner). Curious about what each field is for? The following table explains each part:
| Field | Description |
|---|---|
| Display name (required) | Give the campaign a unique name so you can recognize it later in the overview. This name will not be displayed in the banner. |
| Start date | Enter the date from which you want the banner to be shown. |
| End date | Enter the date until which you want the banner to be shown. |
| Text | Add extra text to the temporary banner/line. |
| Url | The text or image becomes clickable. If users click on the text or image, they will be redirected to this web address. |
| Image | Upload an image to use as the (temporary) banner. |
What about the link field?
If you provide both text and a link along with an image, the image will be displayed with clickable text below it (linked). When you only provide text and a link, the text will be clickable with the link. If you only provide an image and a link, the image will be clickable with the link.