
Managing roles and permissions for users
Eformity allows you to assign permissions for nearly every component. This enables you to control who can view, use, modify, delete, or add data. This article explains how to create and manage roles.
Step 1: Log in to the eformity web environment
User management is done via the eformity web environment. Log in to yourcompanyname.eformity.net with your personal credentials.
Step 2: Navigate to 'System Management'
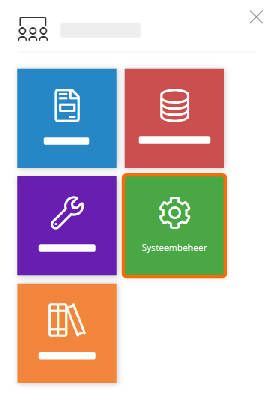
After logging in, navigate to the system management section by clicking the hamburger menu icon. This icon is circled in the image below.

A new element will open on the left side of the page. This element contains up to five different tiles. Click on the tile titled 'System Management'.
Step 3: Add a new role
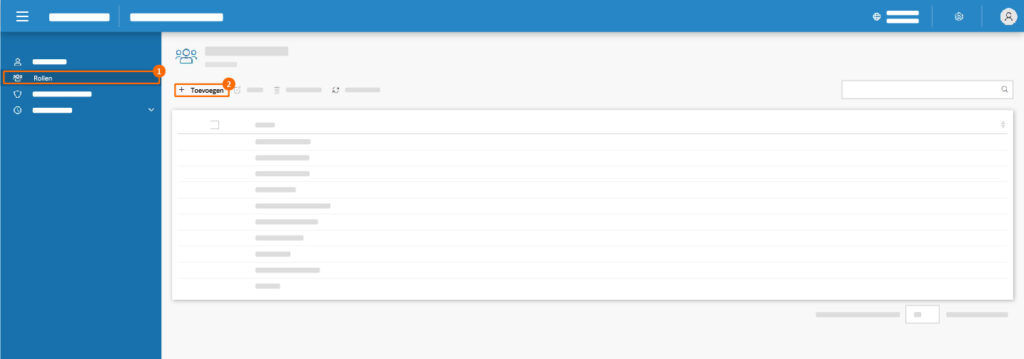
In the previous step, a new page was opened. To add a new role, first open the 'Roles' overview. Click on 'Roles' in the menu and then click the 'Add' button.
A new element will now appear on the right side of the page. Fill in the details (only the name for now) for the new role. After entering the name, click the blue 'Create' button.
Step 4: Set permissions for the role
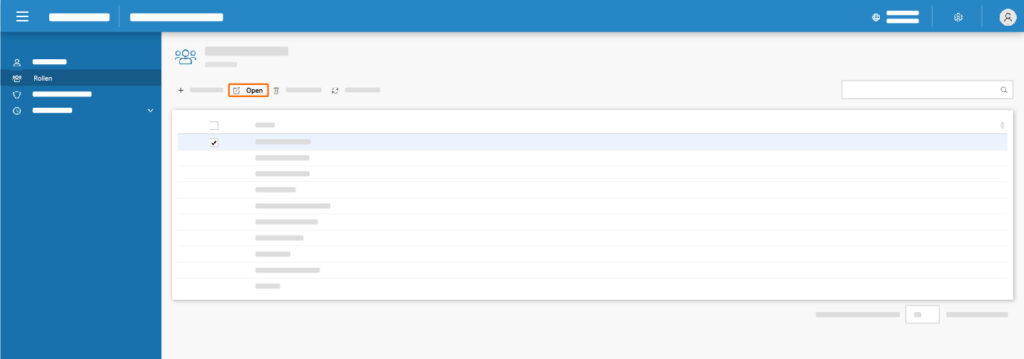
After creating a new role, you can assign permissions to it. Select the new role by clicking on it in the overview and then click the 'Open' button.
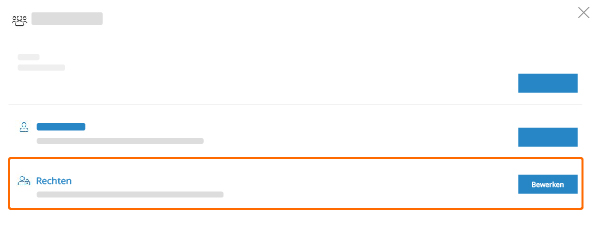
A new element will appear again on the right side of the page. Click the blue 'Edit' button in the 'Permissions' section to assign permissions. This is visually represented in the image below.
On the new page, you can assign all permissions to the selected role. There are various tabs (number 1 in the image). Click on the tabs to view all options. Toggle these options on or off using the sliders (number 2 in the image).

Step 5: Add users to the role
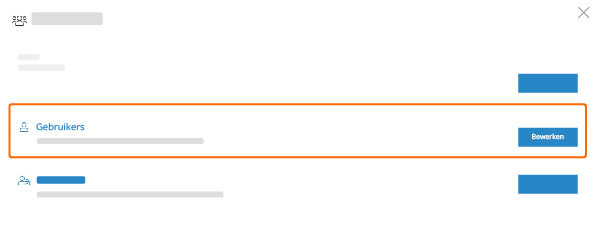
After creating a new role and assigning permissions, it's time to add users to the new role. Select the desired role and click 'Open'. Refer to the image below for visual guidance.
A new element will open on the right side of the page. Click the blue 'Edit' button in the 'Users' section. This is circled in orange in the image below.
Another new element will open. Click the 'Add' button to add new users to the role.
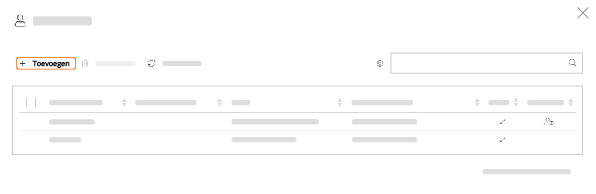
You will now see an overview of all available users. To add a user to the role, click on the user's name and then click the blue 'Add' button.