
Enabling AD synchronization
This feature allows user accounts to be cleaned up based on their presence in Active Directory (AD). When a user no longer exists in AD, they will also be removed from eformity. This article explains how to enable and use AD synchronization.
Note!
AD synchronization is only available on-premises in conjunction with Active Directory SSO.
Step 1: Log in to eformity.net
To enable AD synchronization, start by logging in to the eformity web environment at yourcompanyname.eformity.net with your personal credentials.
Step 2: Navigate to 'System Management'
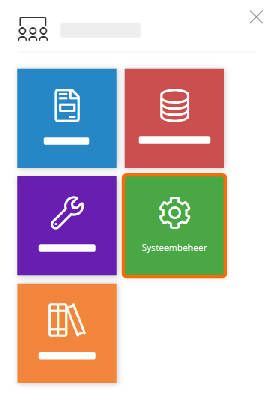
Once logged in, navigate to the system administration section to enable AD synchronization. Click the hamburger menu icon. This icon is circled in the image below.

A new element will open on the left side of the page. This element contains up to five different tiles. Click on the tile titled 'System Management'.
Step 3: Go to 'Identity providers'
A new page will open. To enable AD synchronization, you need to access the identity providers section. Click on 'Identity providers' in the left-hand menu (1 in the image). Then select 'Microsoft AD' (2 in the image).

Step 4: Enable AD synchronization
A new element will appear on the right side of the page. In this element, you can enable AD synchronization by checking the 'Active' box. You can also choose to enter an email address in the 'Report to' field to receive a daily report.
