
How to add, edit and delete Shapes
In addition to images and icons, eformity also allows you to save Shapes in the system. In this article, we'll discuss what Shapes are and how you can add, edit, and delete them. But first, let’s explain what a Shape actually is.
What are Shapes?
You may already be familiar with Shapes, but some context is needed to understand how they work in eformity. Shapes within eformity function the same as Shapes in Office 365. They are vector-based graphic objects, just like icons. Common examples include rectangles, squares, circles, triangles, or arrows.
Adding a Shape
Shapes can only be added through a Microsoft 365 application, such as Microsoft Word. It is not possible to upload Shapes directly within the web environment of eformity. In this article, we'll use Microsoft Word to demonstrate how to add, edit, and delete a Shape from eformity.
Step 1: Open the sidepanel in Microsoft Word
Before you can upload a Shape, you need to open the side panel in Microsoft Word. In most cases, this panel opens automatically when Word starts. If it doesn’t, click on the Task Pane button to open it.

Step 2: Enable Edit mode
Only template admins can upload and manage Shapes. Therefore, you must first enable Edit mode in the Task Pane. Click on your profile picture to open the user options.
Once the Account menu is open, enable Edit mode by clicking the switch.

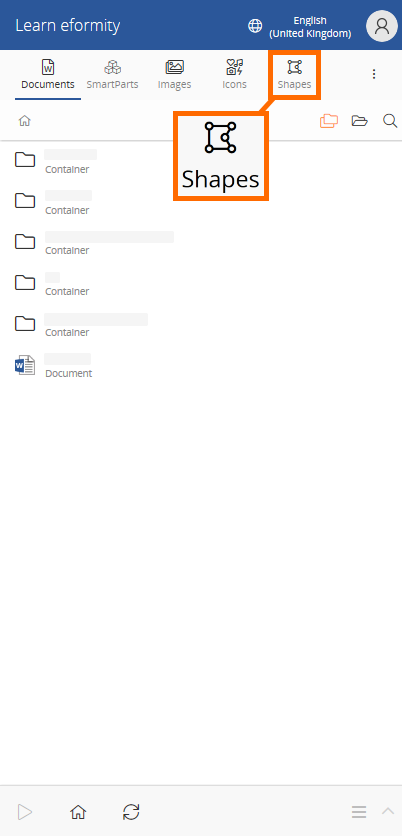
Step 3: Navigate to the Shapes
Now that Edit mode has been enabled, navigate to the Shapes section within the side panel. The image below shows the Shapes button circled in Microsoft Word.
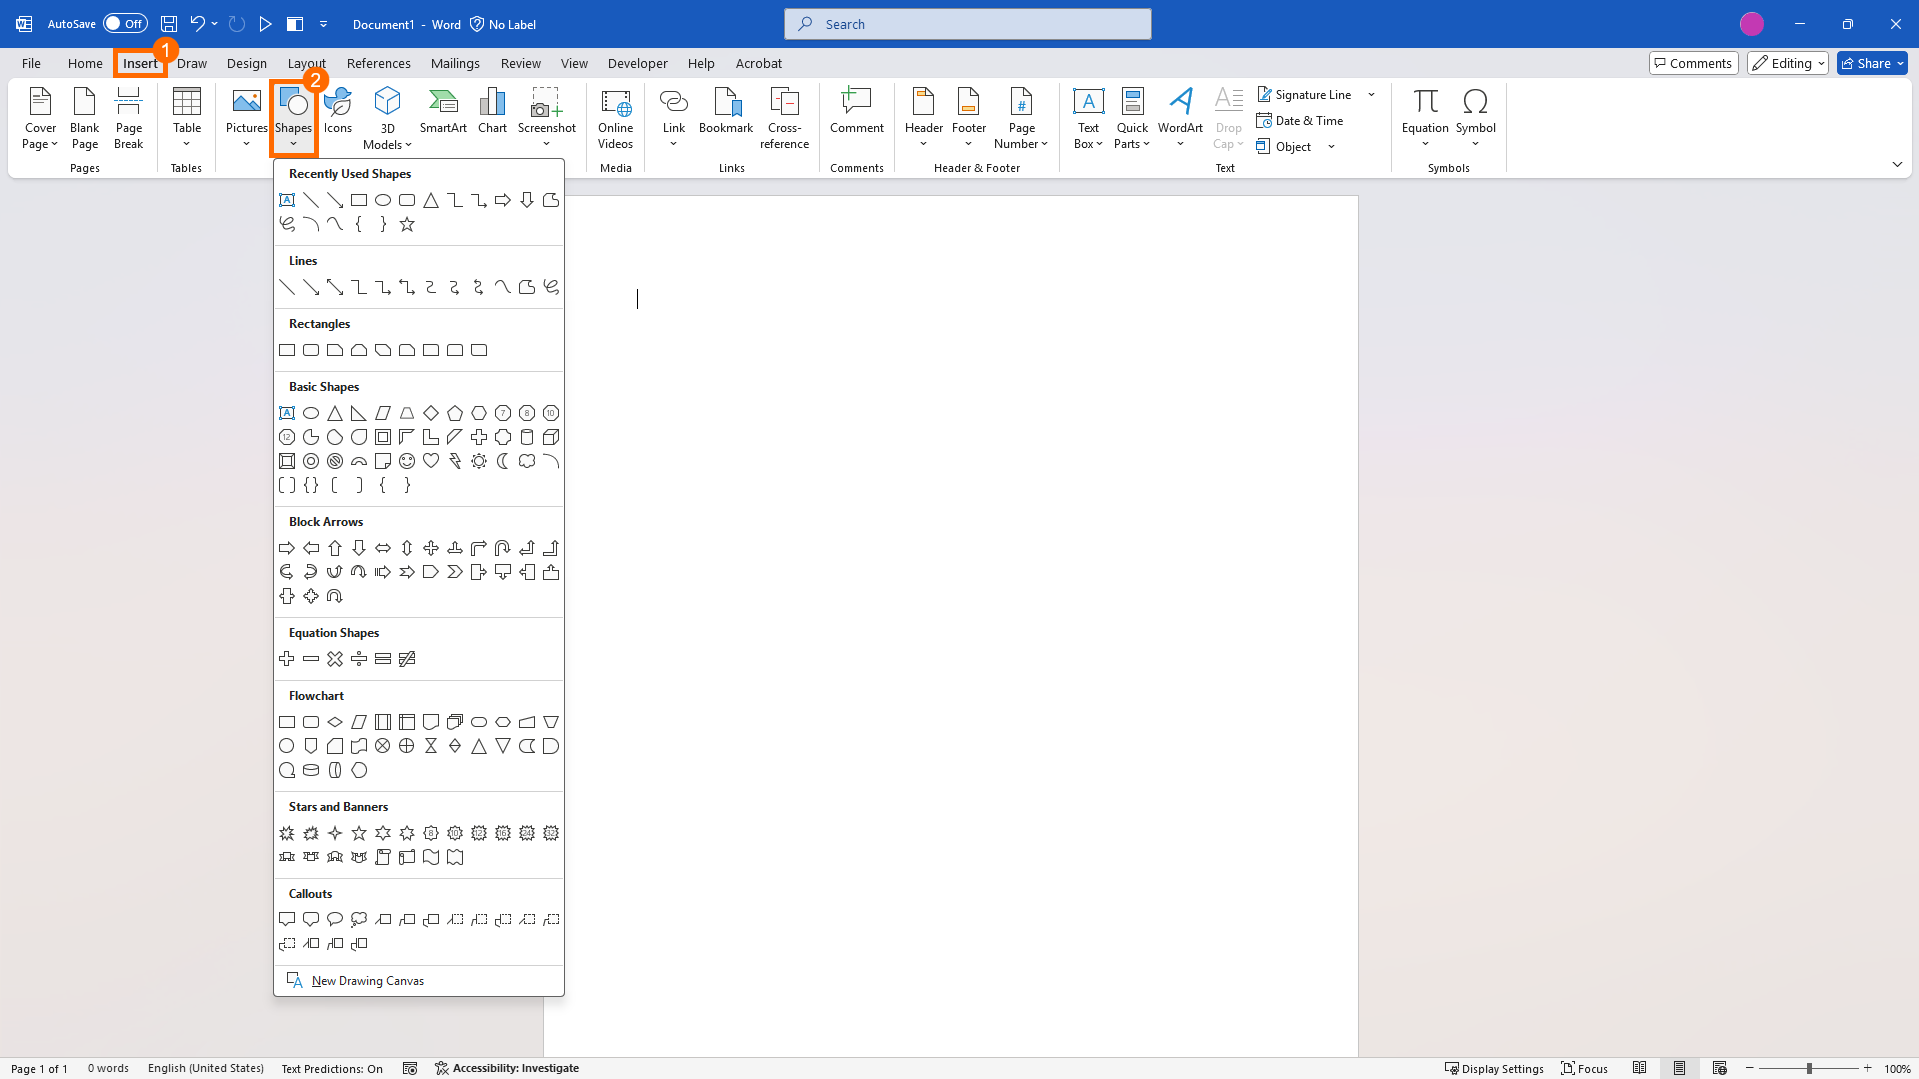
Step 4: Insert a new Shape
Now that the Shapes section is open, you can begin adding Shapes. First, insert a Microsoft Shape into the document. Go to the Insert tab in the taskbar and click on Shapes. Choose your preferred shape and draw it in the document.
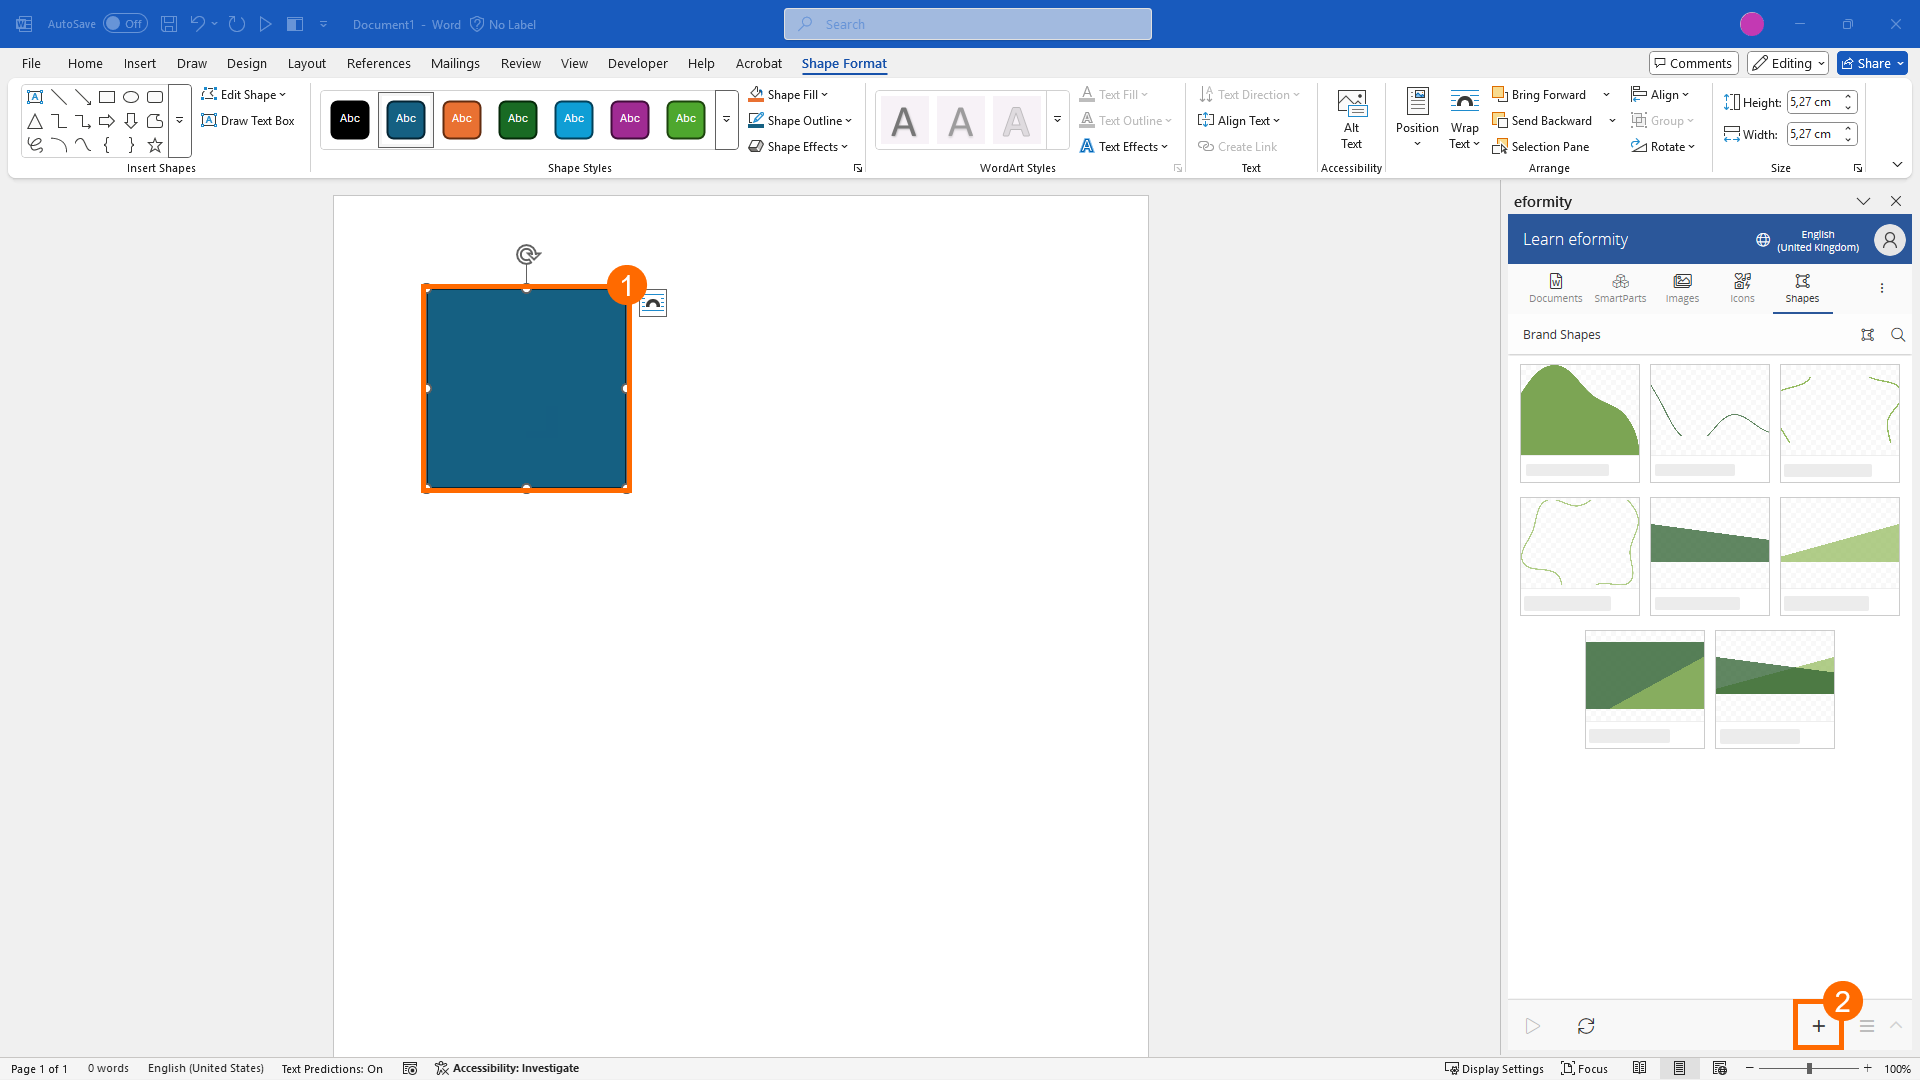
Step 5: Add the Shape to the library
After inserting the desired shape, you can save it to your asset (Shape) library. Click the Shape to select it. Once selected, click the + icon in the Task Pane to add it to your library.
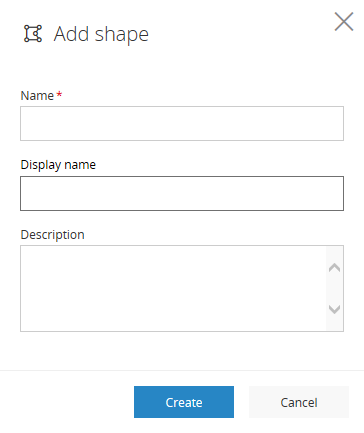
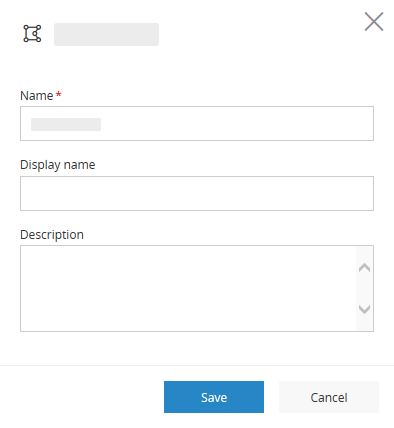
After clicking the plus icon, a new section will appear allowing you to set a name, display name, and description for the shape.
| Field name | Description |
|---|---|
| Name (required) | Give the shape a name. |
| Display name | Provide a more descriptive name for end users. |
| Description | Set an additional description for how and when to use the shape |
Editing a Shape
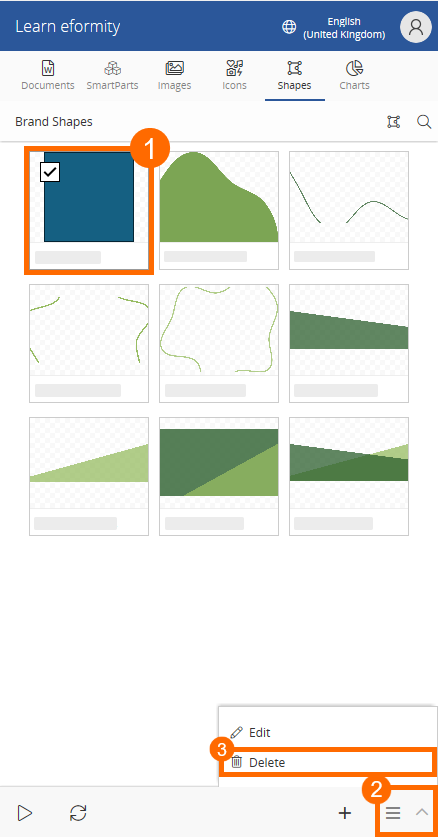
After adding a Shape to your library, you may want to update some of the information you initially provided. Editing a Shape is simple. First, select the shape by clicking on it. Once selected, a checkbox will appear. Then, click the Options menu.

Choose Edit from the Options menu. This opens the same side panel as when adding a Shape. However, this time the fields are pre-filled with the existing data. Simply update the values and click the Save button to save your changes.
Deleting a Shape
In addition to editing, you can also delete a Shape. This process is very similar to editing. However, instead of selecting Edit from the Options menu, choose Delete.
Please note: There is no trash or recycle bin. Once a Shape is deleted, it is permanently removed and cannot be recovered.