
Adding datasources
Datasources are used in eformity to create collections of data. You can use datasources to store employee and organizational data, among other types. We’re happy to explain more about adding datasources.
Step 1: Log in to the web environment
Managing datasources is done through the eformity web environment. First, you need to log in to this environment, which is accessible via yourcompanyname.eformity.net.
Step 2: Navigate to 'Configuration'
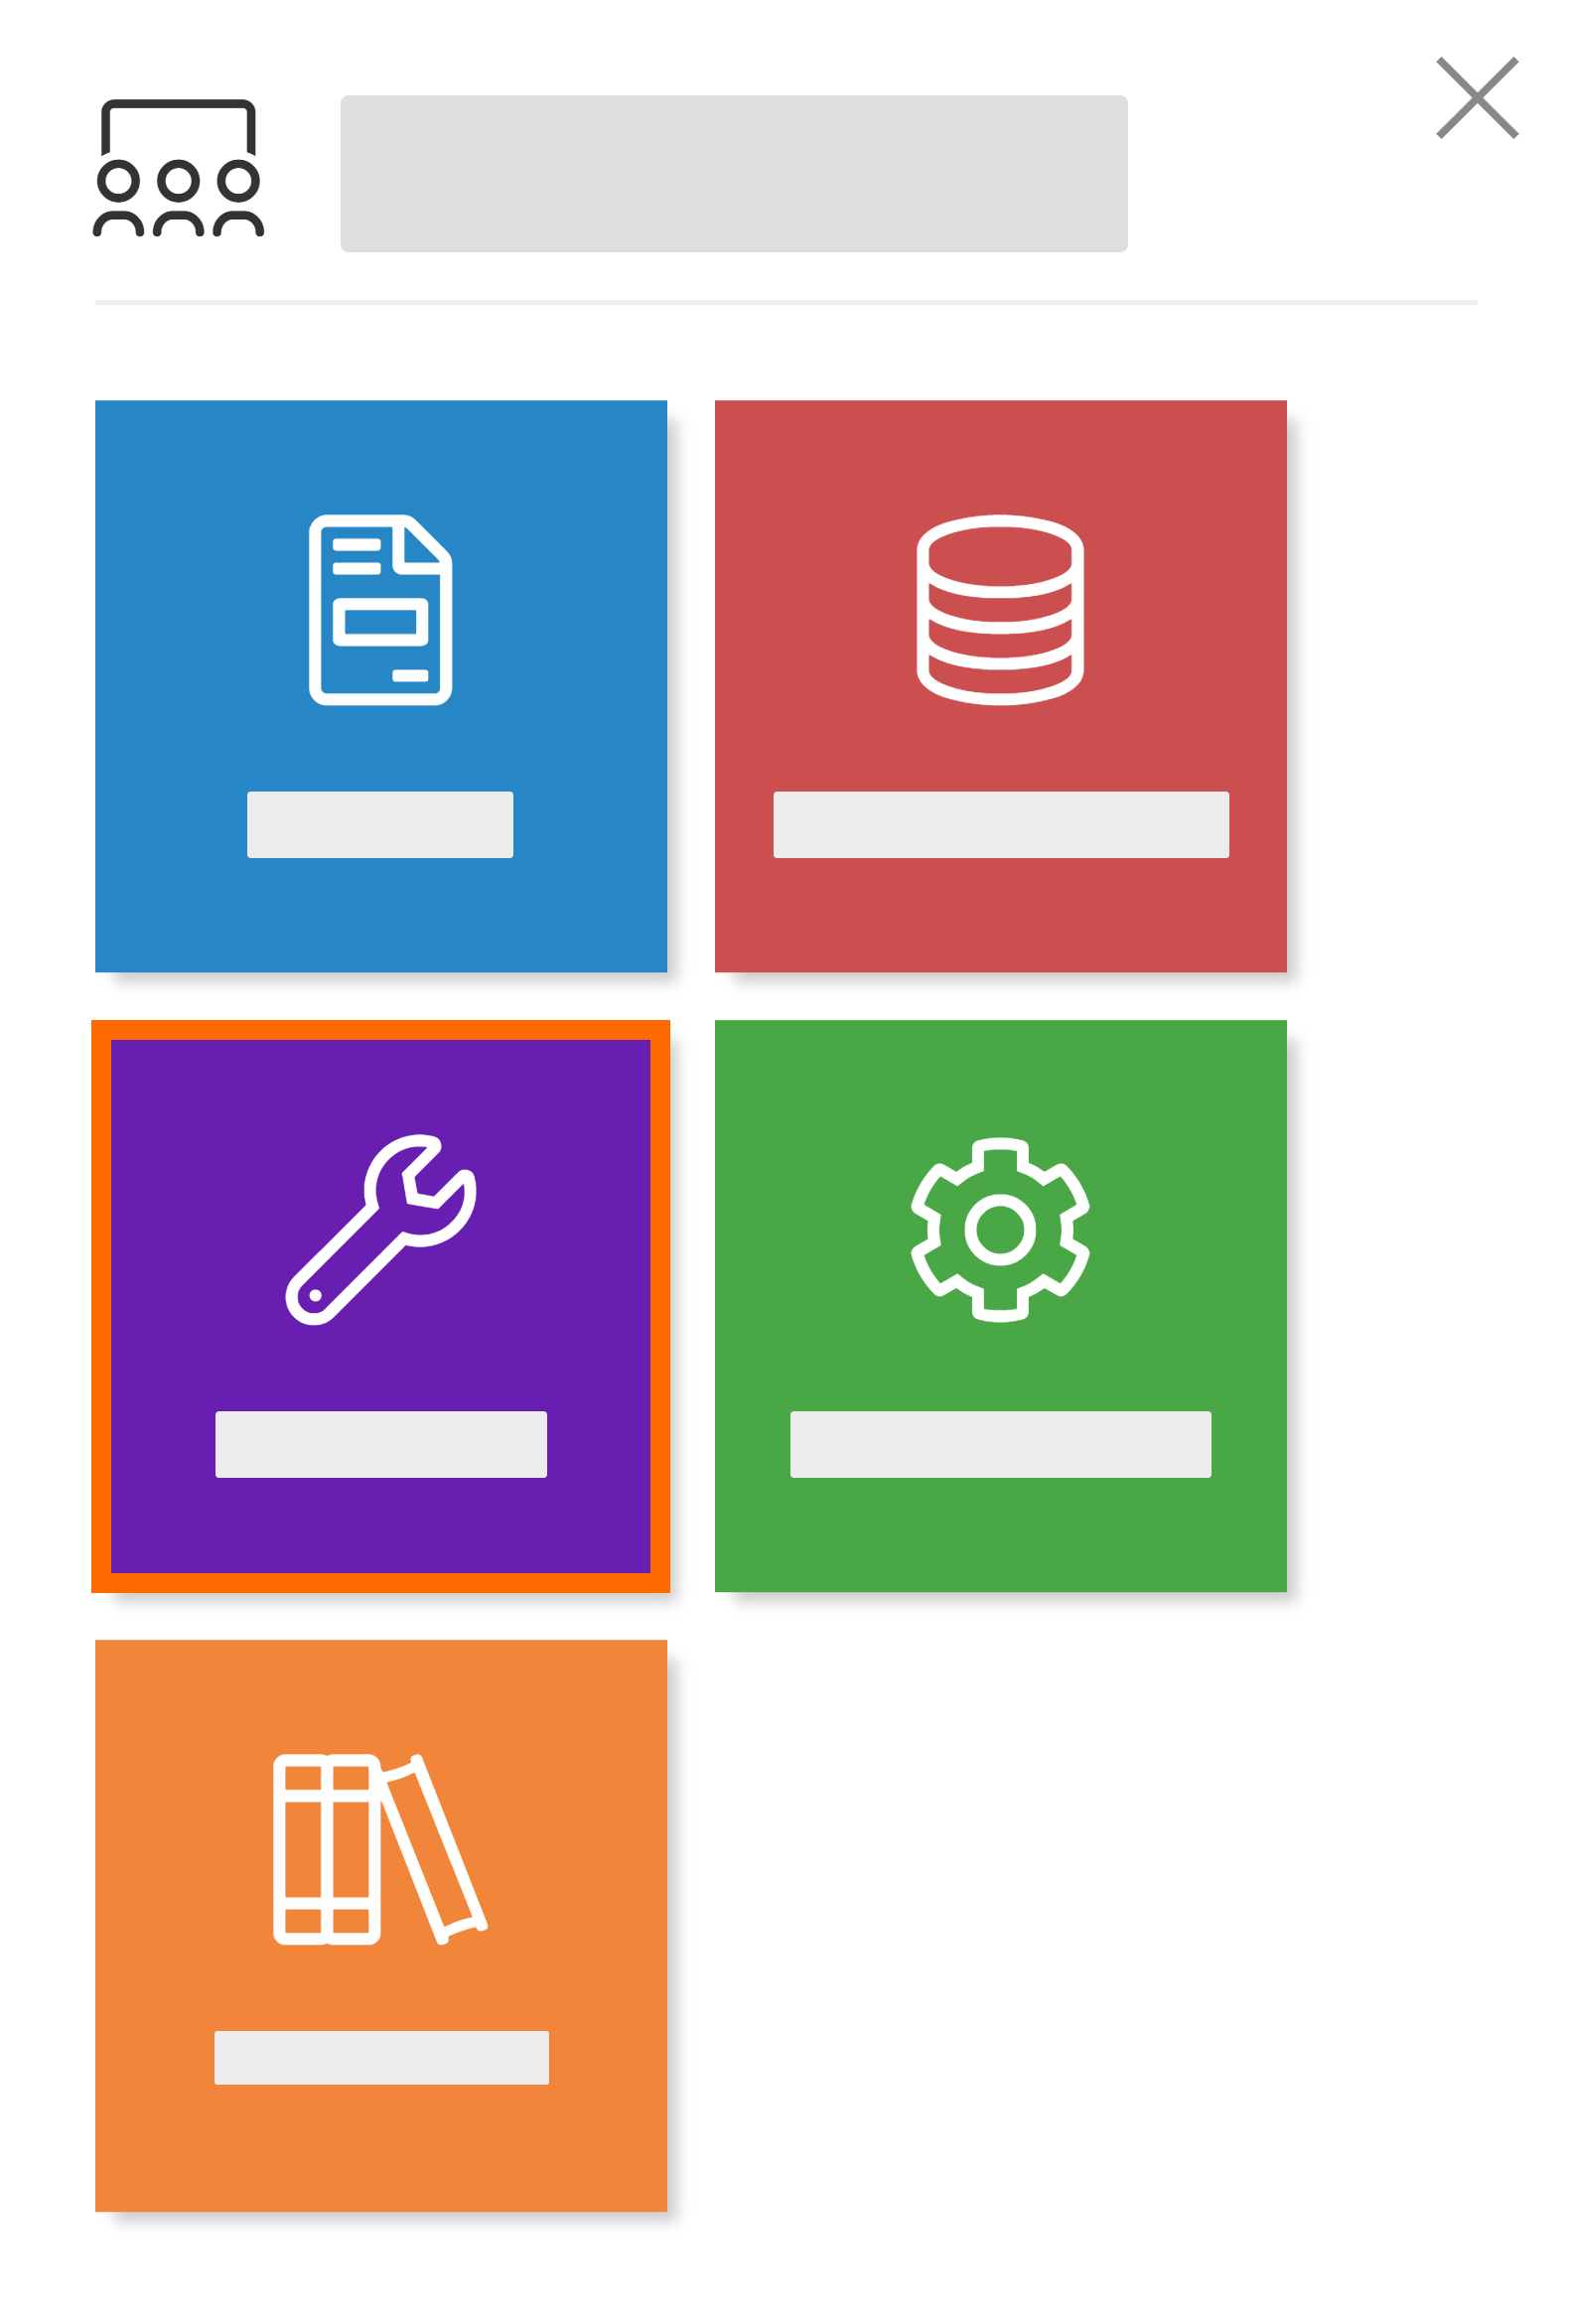
Once logged in, you can navigate to the configuration section. Start by clicking on the hamburger menu icon. This is circled in the image below.

A new element will now open on the left side of the page. In this new element, you will see five different tiles. Click on the tile titled 'Configuration'.
Step 3: Go to the 'Datasources' overview
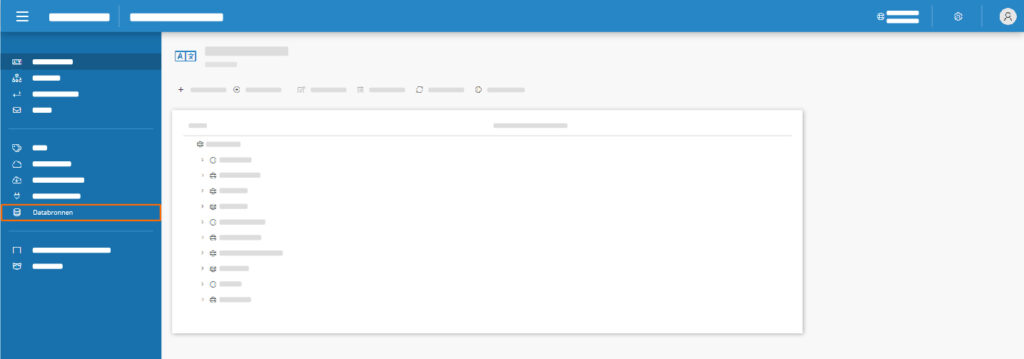
After clicking on the 'Configuration' tile, a new page will open. On this page, you can navigate to the datasources overview by clicking on 'Datasources' in the menu.
Step 4: Add a new datasource
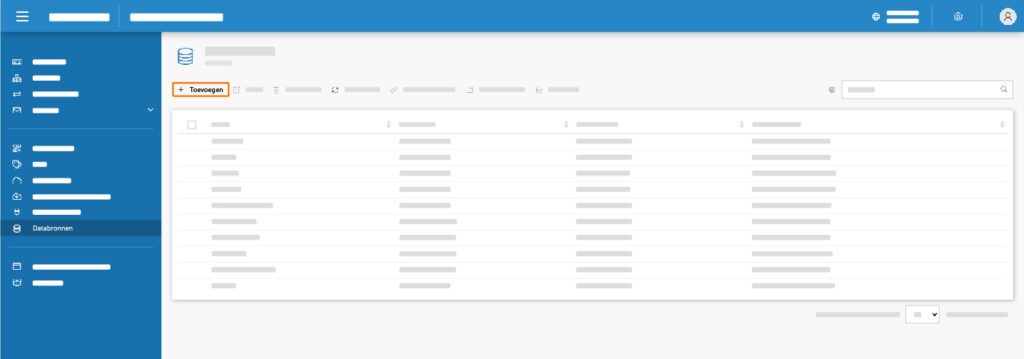
Once you are in the overview of all existing datasources, you can create a new datasource. Adding a new datasource is done via the 'Add' button, which is circled in the image below.
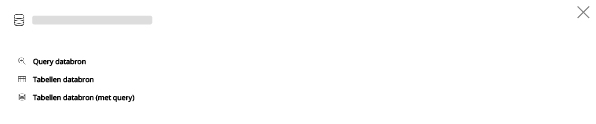
A new element will then open on the right side of the page. In this new element, you first choose the type of datasource you want to create. You can choose from three options: query, tables, and tables (with query). The article 'Before you start with datasources' provides more information about the differences.
After selecting the desired type of datasource, you must give the new datasource a name (required) and a data connector (required). This is visually represented in the image below.
